¶ Physical Controller Connection Guide
Connection instructions vary depending on whether the physical controller was shipped with the Yarbo Core, provided as a replacement, or purchased separately. Please follow the instructions that apply to your situation.
| Fast Flashing | Slow Flashing |
 |
 |
¶ Scenario 1: Physical Controller Shipped with the Yarbo Core
The controller was pre-paired before delivery.
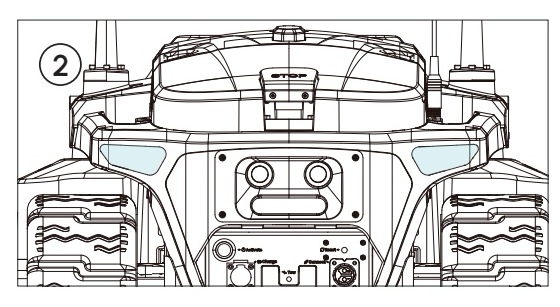
¶ Step 1: Power On Yarbo
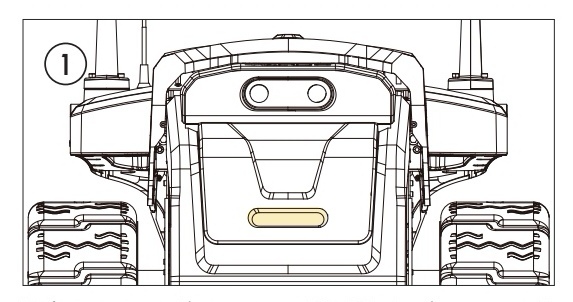
- Press the power button on the rear of the Yarbo Core and wait for startup. Once it powers on, you will hear the voice prompt:
“Ready to work”.
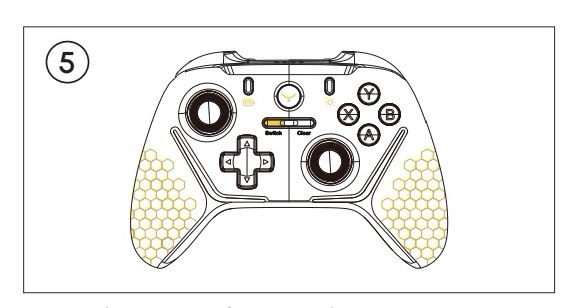
¶ Step 2: Check the Glide Switch
- On the back of the controller, make sure the glide switch is pushed to the right.

¶ Step 3: Power On the Controller
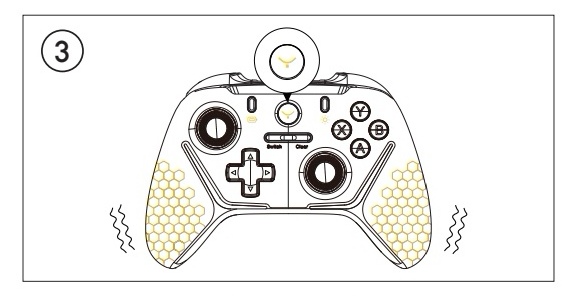
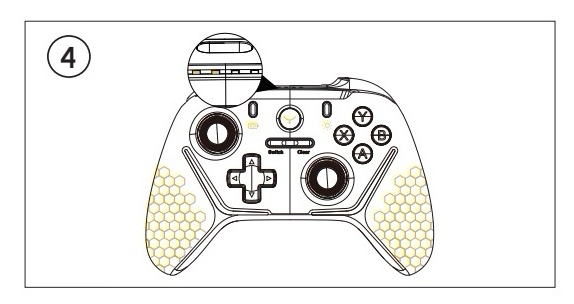
- Short press the Yarbo logo button on controller to turn on the physical controller.
¶ Step 4: Wait for the Controller to Connect Automatically
Check the LED indicator on the top of the Yarbo Controller.
- Slow flashing yellow light: the controller is connecting. Please wait.
- Steady yellow light: the controller has connected successfully.
¶ Step 5: Switch Control to the Physical Controller
- To switch control from the app controller to the physical controller, press and hold the Switch button for 2 to 3 seconds.
- Once the physical controller has taken over control, you can begin operating Yarbo.
- Press and hold the RB button (top-right on the controller), then move the left joystick. The controller will respond correctly.
¶ Scenario 2: Physical Controller Was Sent Separately
The controller is not pre-paired. Manual pairing is required.
¶ Step 1: Power On Yarbo
- Press the power button on the rear of the Yarbo Core and wait for startup. Once it powers on, you will hear the voice prompt:
“Ready to work”.
¶ Step 2: Check the Glide Switch
- On the back of the controller, make sure the glide switch is pushed to the right.
¶ Step 3: Power On the Controller
Make sure the controller is powered off first, then press and hold the Yarbo logo button until the LED changes to fast flashing.
- If the controller is not powered off, short press the Yarbo logo button first to turn it off.
- While pressing and holding the button, the LED will first flash slowly and then change to fast flashing. Do not release the button during slow flashing; Start from the powered-off state and keep holding until fast flashing appears.
¶ Step 4: Put Yarbo Into Pairing Mode
- Press and hold the power button on Yarbo for about 3 seconds.
- The rear light will first turn red, then flash blue once to indicate that Yarbo has entered pairing mode.
- Wait for the controller to connect.
- The LED on the controller will change from fast flashing yellow to steady yellow once the connection is established.
¶ Step 5: Switch Control to the Physical Controller
- Press and hold the Switch button on the controller until you hear the voice prompt:
- “Physical controller connected.”
- Once the physical controller has taken over control, you can begin operating Yarbo.
- Press and hold the RB button (top-right on the controller), then move the left joystick. The controller will respond correctly.

¶ Tips for Successful Pairing
- Ensure both Yarbo and the controller have sufficient battery
- Keep the controller close to Yarbo during pairing