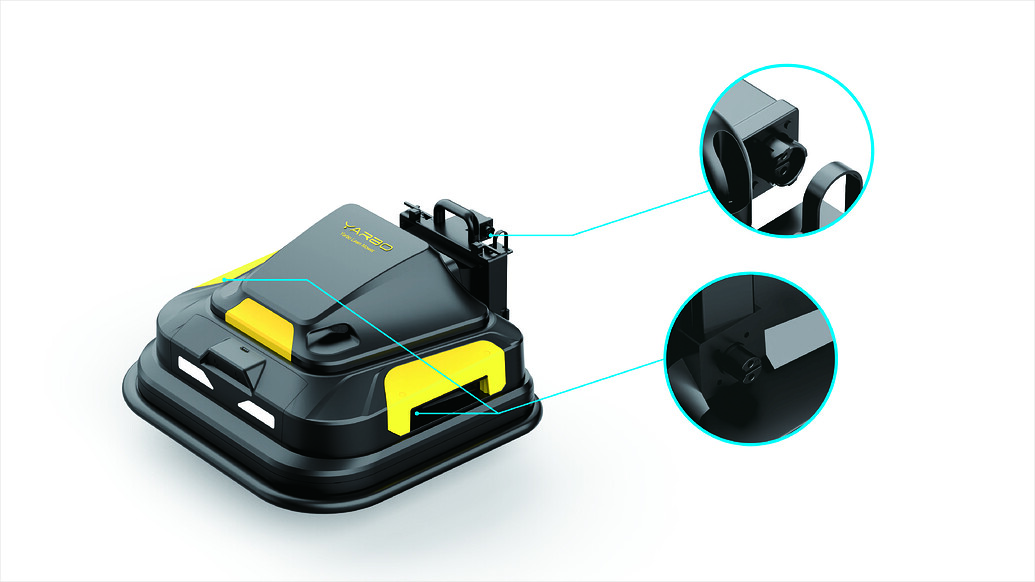
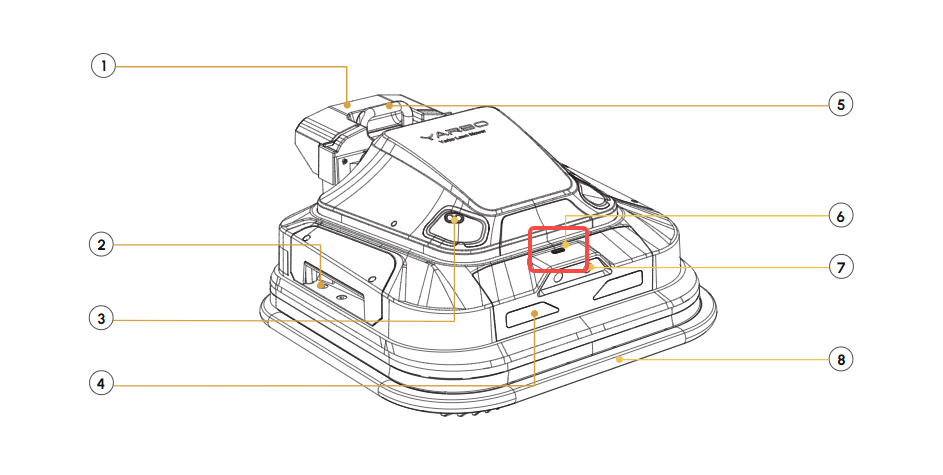
The lawn mower module is fully waterproof, except for the two extension ports on the sides and the connection port where the cable connects the Yarbo core to the lawn mower module.
When cleaning, please keep the following in mind:
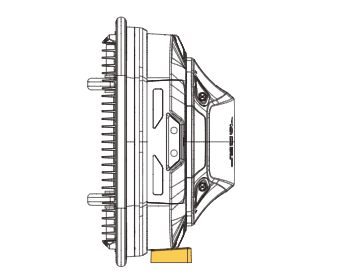
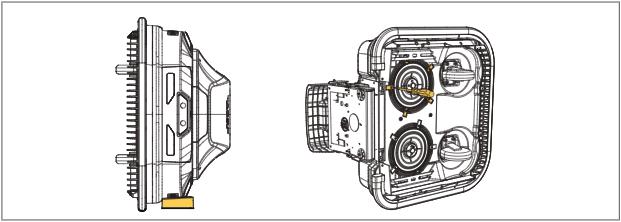
Before Cleaning: Detach the lawn mower from the universal body. Raise the mower from the side and place it on the Module Vertical Stand (refer to the picture below).
Areas to Avoid Spraying: Do not spray water directly onto the connection port where the cable is plugged into the mower, or the two expansion ports on either side.
Cleaning Method: For most areas, you can use water or a cloth to wipe clean. Pay special attention to areas where grass tends to accumulate, especially between the blades.
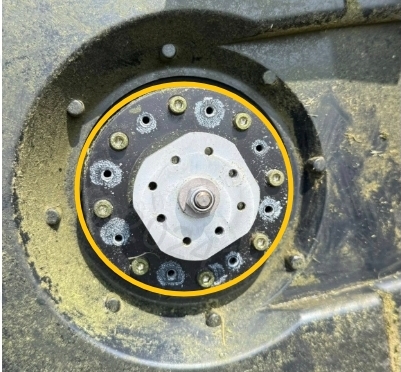
Grass buildup under the blade disc can cause motor strain, affect cutting performance, and in some cases trigger cutting height motor overcurrent errors. This buildup is especially common in thick or wet grass conditions.
Inspect the cutting disc area regularly for tangled grass or debris.
Clean thoroughly using a brush or by hand (while wearing protective gloves). Make sure Yarbo is powered off and the battery is disconnected.
If buildup is persistent or leads to repeated motor overcurrent errors, consider removing the blade guard to allow for easier cleaning and reduce blockage. This can improve airflow and help prevent future issues. Please note that for the Pro mower, this requires first removing the blade mounting plate attached to the spindle. You cannot take the Pro guards off without removing this mounting plate first.
Note: The removed blade guard should be reserved by the user for subsequent installation based on their needs, but the screws must be reinstalled into the mower so that debris and moisture do not enter the motor assembly.
Please note: removing the blade guard increases the risk of contact with the blades—handle with care and stay alert to avoid injury.
Avoid cutting blades from coming into contact with hard surfaces such as stones and bricks.
Avoid prolonged exposure to humid environments, maintain ventilation and dryness to prevent rustiness.
Advanced step (use with caution): In rare cases, debris may also accumulate around the silver spindle under the cutting disc. Removing the nut and spindle can allow deeper cleaning, but since the spindle is part of the motor assembly, improper handling may cause malfunction. Attempt this only if necessary and at your own risk.
¶ Replace the cutting blades for Lawn Mower / Lawn Mower Pro
The cutting blades can be replaced when they are damaged or worn out. We recommend you change the blades every three months. Make sure the blades are fixed securely and flexibly:
Detach the lawn mower from the universal body.
Raise the lawn mower from the side and place the lawn mower on Module Vertical Stand, please refer to the picture shown below.
Unscrew the Cutting Blades Bolts using Phillips-Head Screwdriver provided in the lawn mower Box content.
Install the new blades by tightening the cutting blade bolts.
Using an Allen key, unscrew the cutting blade bolts and carefully remove the blades from the machine.
Step 2: Sharpen or Replace
If sharpening: Put a new edge on your current blades to restore their cutting performance.
Sharpening Tip: The factory blade edge angle is 30°. When sharpening, maintain the original 30° angle to help preserve proper cutting performance.
If replacing: Prepare your brand new set of straight blades.
Step 3: Identify Left and Right
Before installing, check the markings. Each blade is clearly labeled with an "L" (Left) or an "R" (Right). Ensure you have the correct blade for the side you are working on.
Step 4: Confirm Valid Orientation
Flip the blade to the correct side. You must ensure the side marked "this side facing grass" is facing toward you.
Step 5: Align the Components
Align the screw protection cover with the mounting holes on the straight blade.
Step 6: Secure the Blade
Insert the straight blade bolts and tighten them securely using the Allen key to lock the blade in place.
Step 7: Complete the Process
Repeat this procedure on the other side of the machine, and ensure both blades are checked for balance before reinstalling them.
To ensure optimal performance and prevent damage to sensitive components, follow these cleaning guidelines:
Cleaning Method: Use a soft, non-abrasive cloth or microfiber cloth to gently clean the cameras and sensors.
What to Avoid: Avoid using abrasive materials, solvents, or excessive amounts of water, as these can damage the components and affect their performance.
Regular Cleaning: Clean the underside of the tracks regularly to remove mud, weeds, and debris. This helps prevent clogs and ensures smooth movement.
Routine Inspections: Check for any cracks or signs of damage to the tracks. Also, verify that the track axles are not loose or deformed. If you notice any damage or if the track’s steering becomes unresponsive, contact Yarbo for professional maintenance and repairs.
If the mower remains unused for more than three months, follow these steps to prevent rust:
Detach the mower from the universal body.
Place the mower on the Module Vertical Stand.
Clean the underside using a high-pressure water hose, but avoid spraying the universal body.
Wipe the mower with a clean cloth.
Store the mower in a clean, dry, and well-ventilated area with moisture-proof and anti-corrosion measures.
Rust Removal: If rust develops, apply WD-40 or another suitable rust remover to the affected areas. Wait for about 3 minutes, then scrub with a nylon pad. Reapply WD-40 to prevent further corrosion. Be sure to avoid spraying the rain sensor.
Please ensure that you do not wear open-toed shoes or go barefoot when performing the above maintenance tasks.
Always use appropriate Personal Protective Equipment (PPE). Wear protective gloves and goggles whenever performing maintenance tasks or when needed.
Ensure that Yarbo is switched OFF and disconnects the battery when performing the above maintenance tasks.
Regular maintenance is key to keeping your Yarbo lawn mower in optimal condition. By following these simple steps, you can ensure that your mower runs efficiently, avoids damage, and lasts longer.