¶ Step-by-Step Instructions
The protection fence on your Yarbo snow blower module plays an important role in
keeping components safe during transport and basic operations. However, there may
be instances where you need to remove it, such as for maintenance or to install the
plow blade. Below, you will find a simple step-by-step guide on how to remove the
snow blower protection fence safely.
¶ Step 1: Gather the Tools Needed
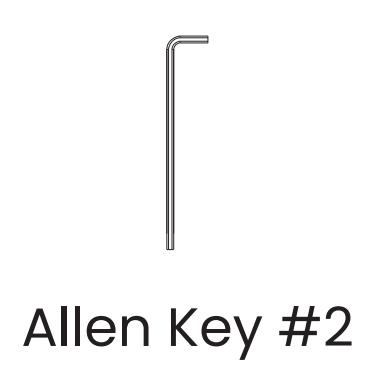
Before you start, ensure you have an Allen Key #2, which is included in your Yarbo package.
¶ Step 2: Unscrew the Bolts
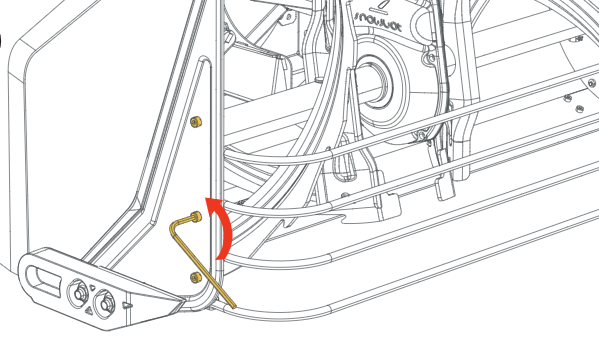
Using the Allen Key #2, unscrew the bolts located on both sides of the protection
fence. You will find two bolts on each side. Carefully turn the Allen Key counter-clockwise
to loosen and remove the bolts.
¶ Step 3: Remove the Protection Fence
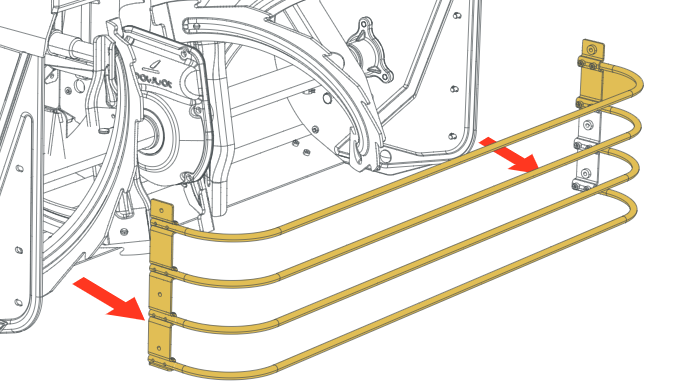
Once the bolts are removed, you can lift the protection fence off the snow blower module. Be sure to remove the fence carefully without forcing it to avoid any damage to other parts.
¶ Step 4: Preserve the Bolts and Fence
After you have removed the protection fence, store the bolts and fence in a safe place. Keeping
these components in a secure location will ensure that you can reinstall the fence when needed in the future.
¶ Tips for Safe Removal
- Always turn off and disconnect your Yarbo before attempting any removal or maintenance task.
- Make sure the work area is stable and free of snow or any other slippery material.
By following these simple steps, you can effectively remove the snow blower protection fence
and keep your Yarbo snow blower module in good condition for future use.