¶ Hardware Preparation
¶ For New Cores
- Unpack your new Yarbo Core.
- Locate the Smart Assist Module and Accessories box.
¶ For Replacement Cores
- Remove the following from the old Core:
- Battery
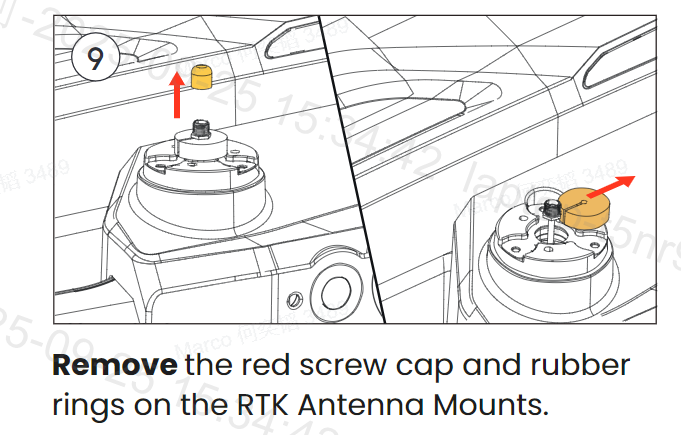
- RTK antennas and mounts
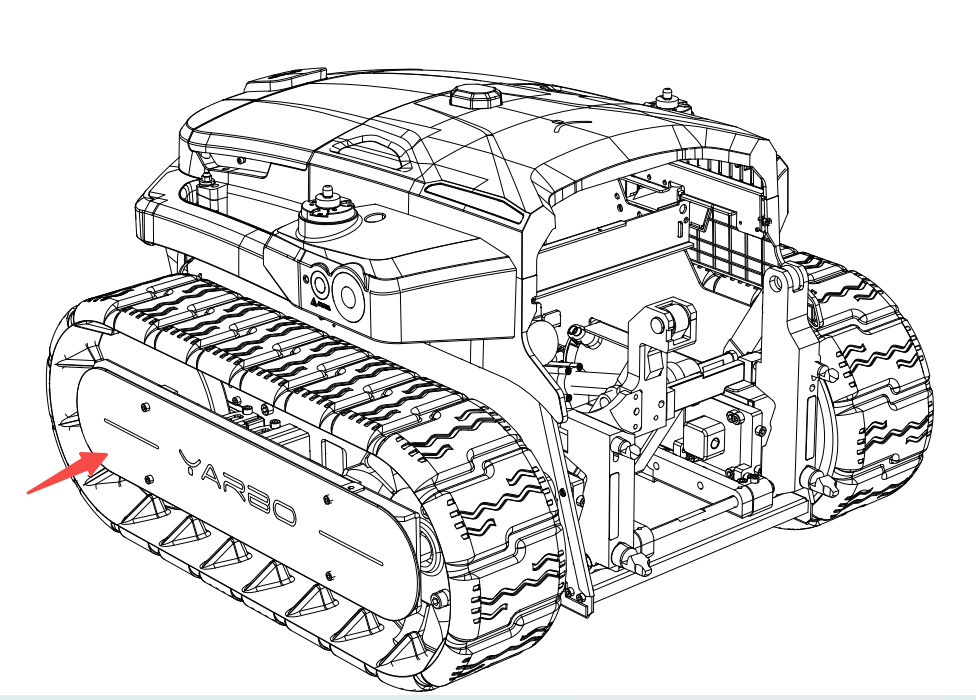
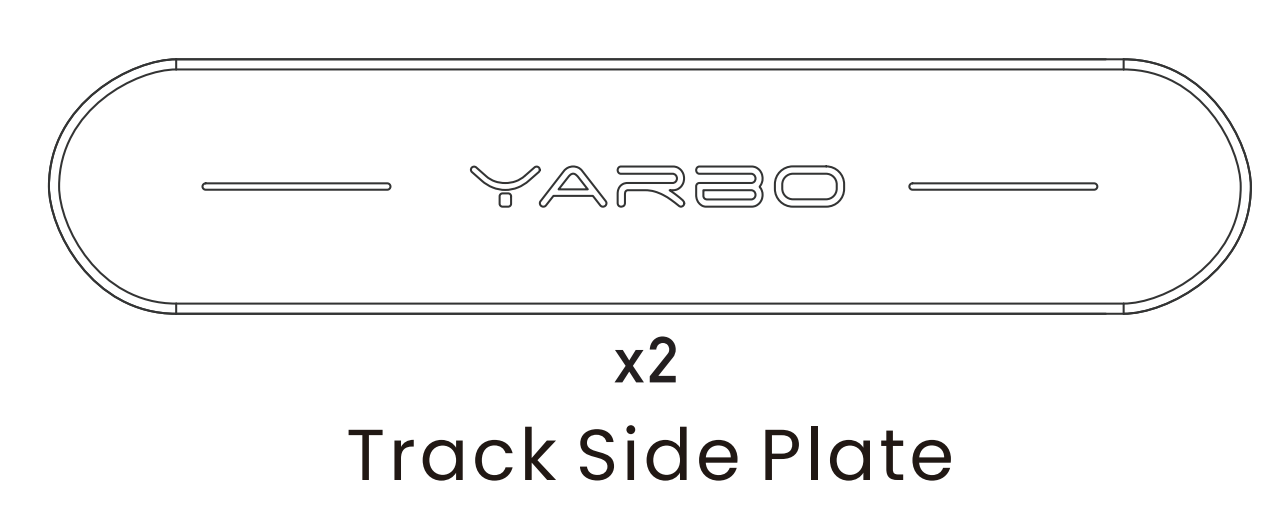
- Metal track side plates
- HaLow antenna
- Install the same components onto your new Core.
- Replace the plastic track side plates with the metal ones.
 |
 |
- Remove the RTK cable rubber bushings and red plastic cable covers.
- Install the appropriate RTK antenna mount (low or high).
- If installing low mounts, unscrew the antennas from the top of the high mounts by hand.
- Remove the white plastic cable protector from the HaLow mount and install the HaLow antenna.
- Reinstall the battery.
¶ Initial Power-Up & App Connection
- Power on the Core.
- Open the Yarbo App and tap the + icon to add a new device.
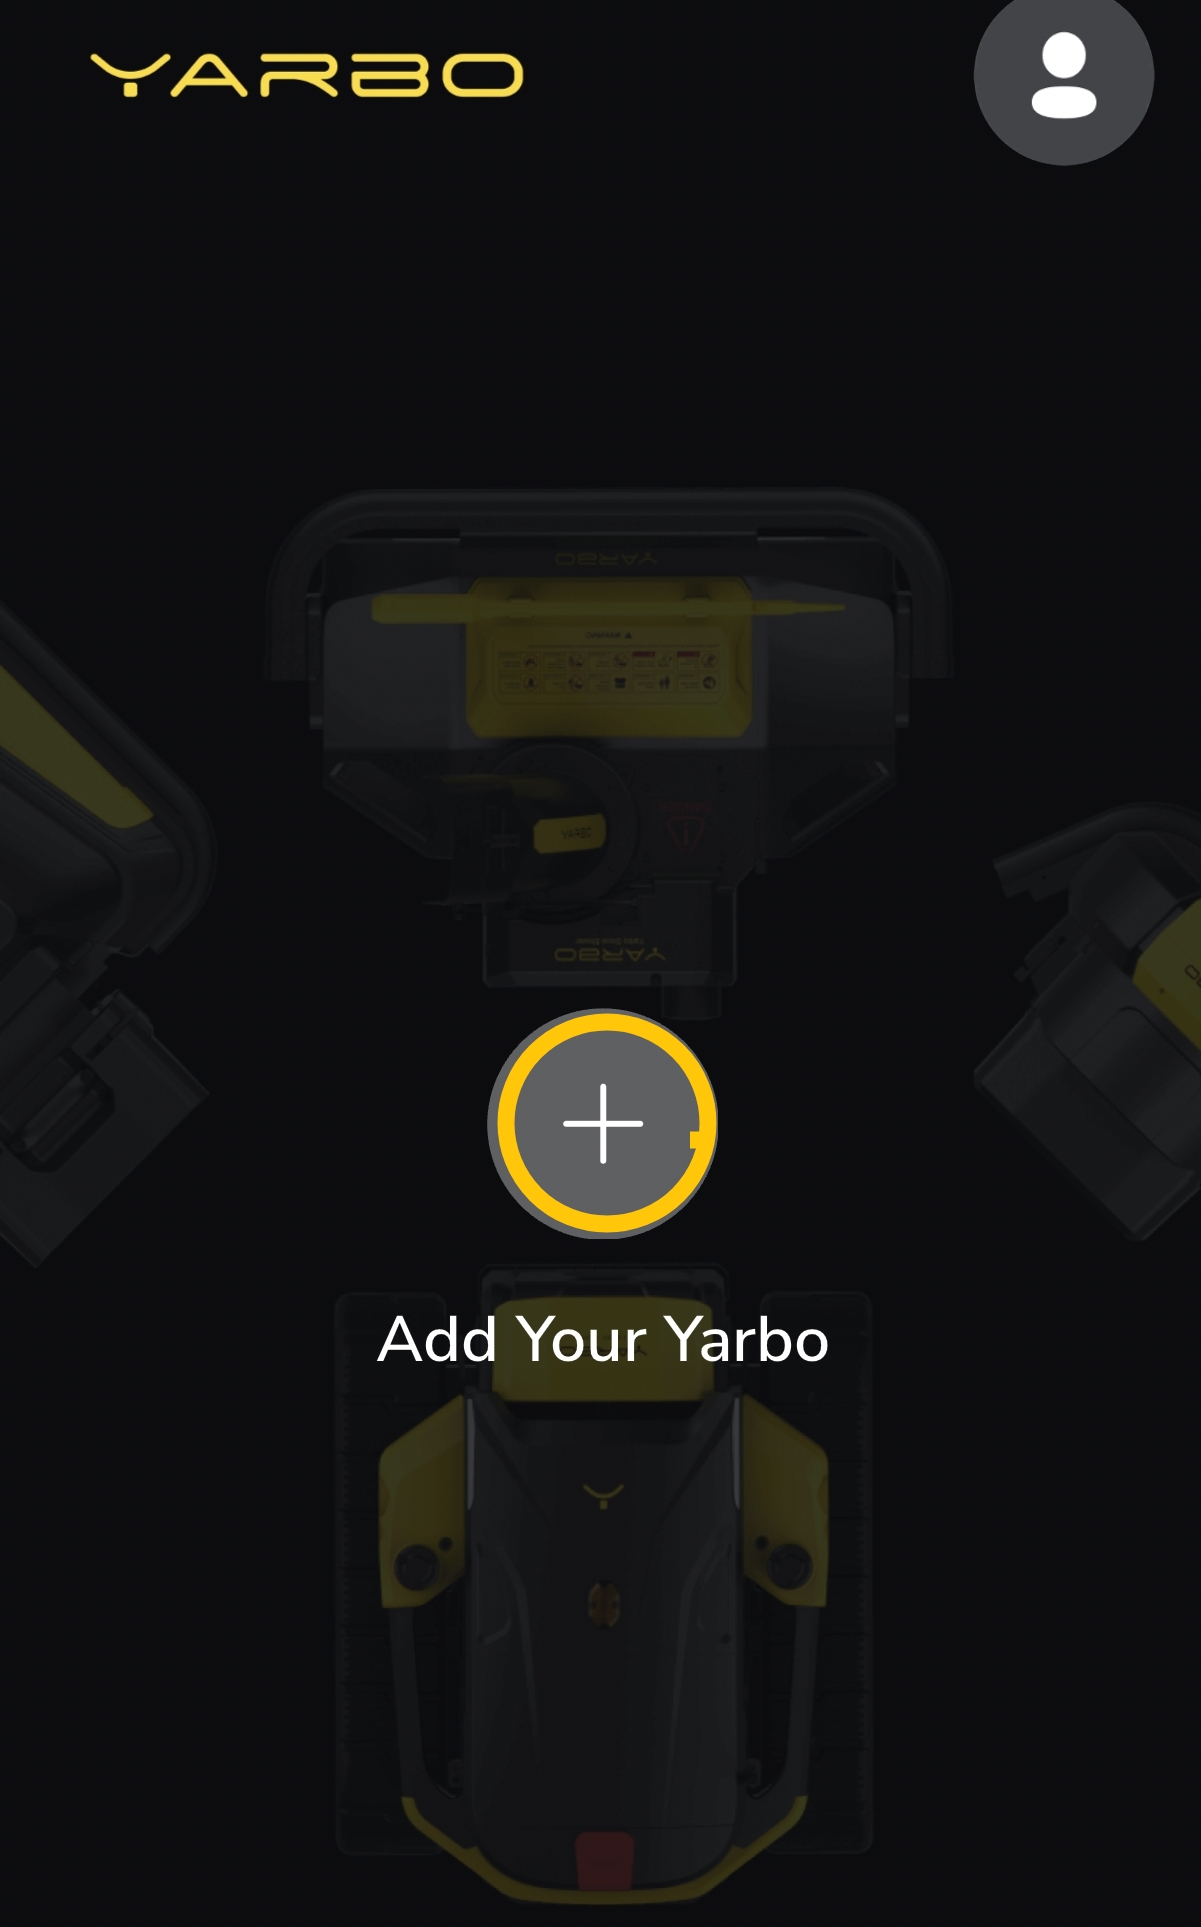
- Select Yarbo Core and connect it to your Yarbo account.
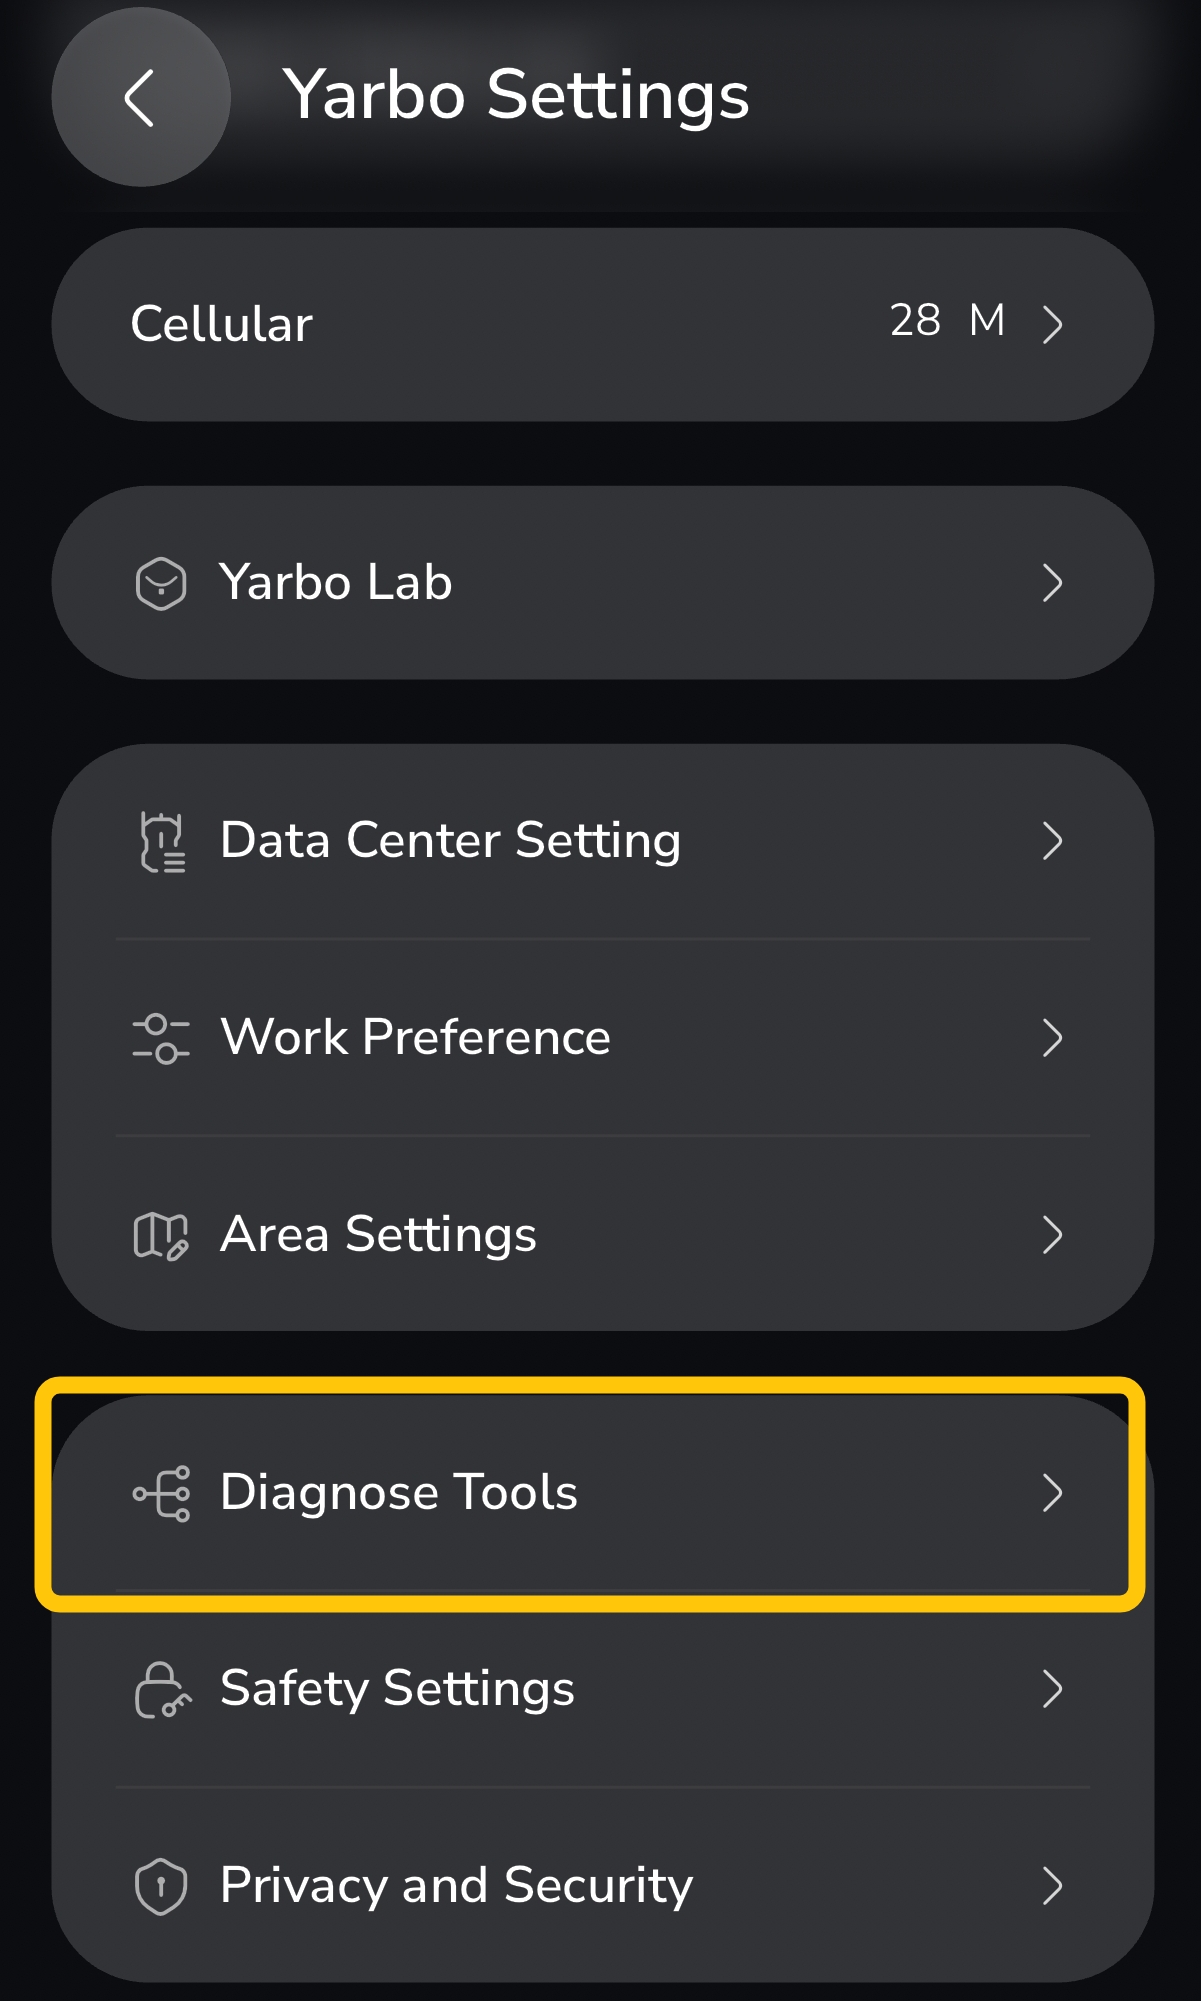
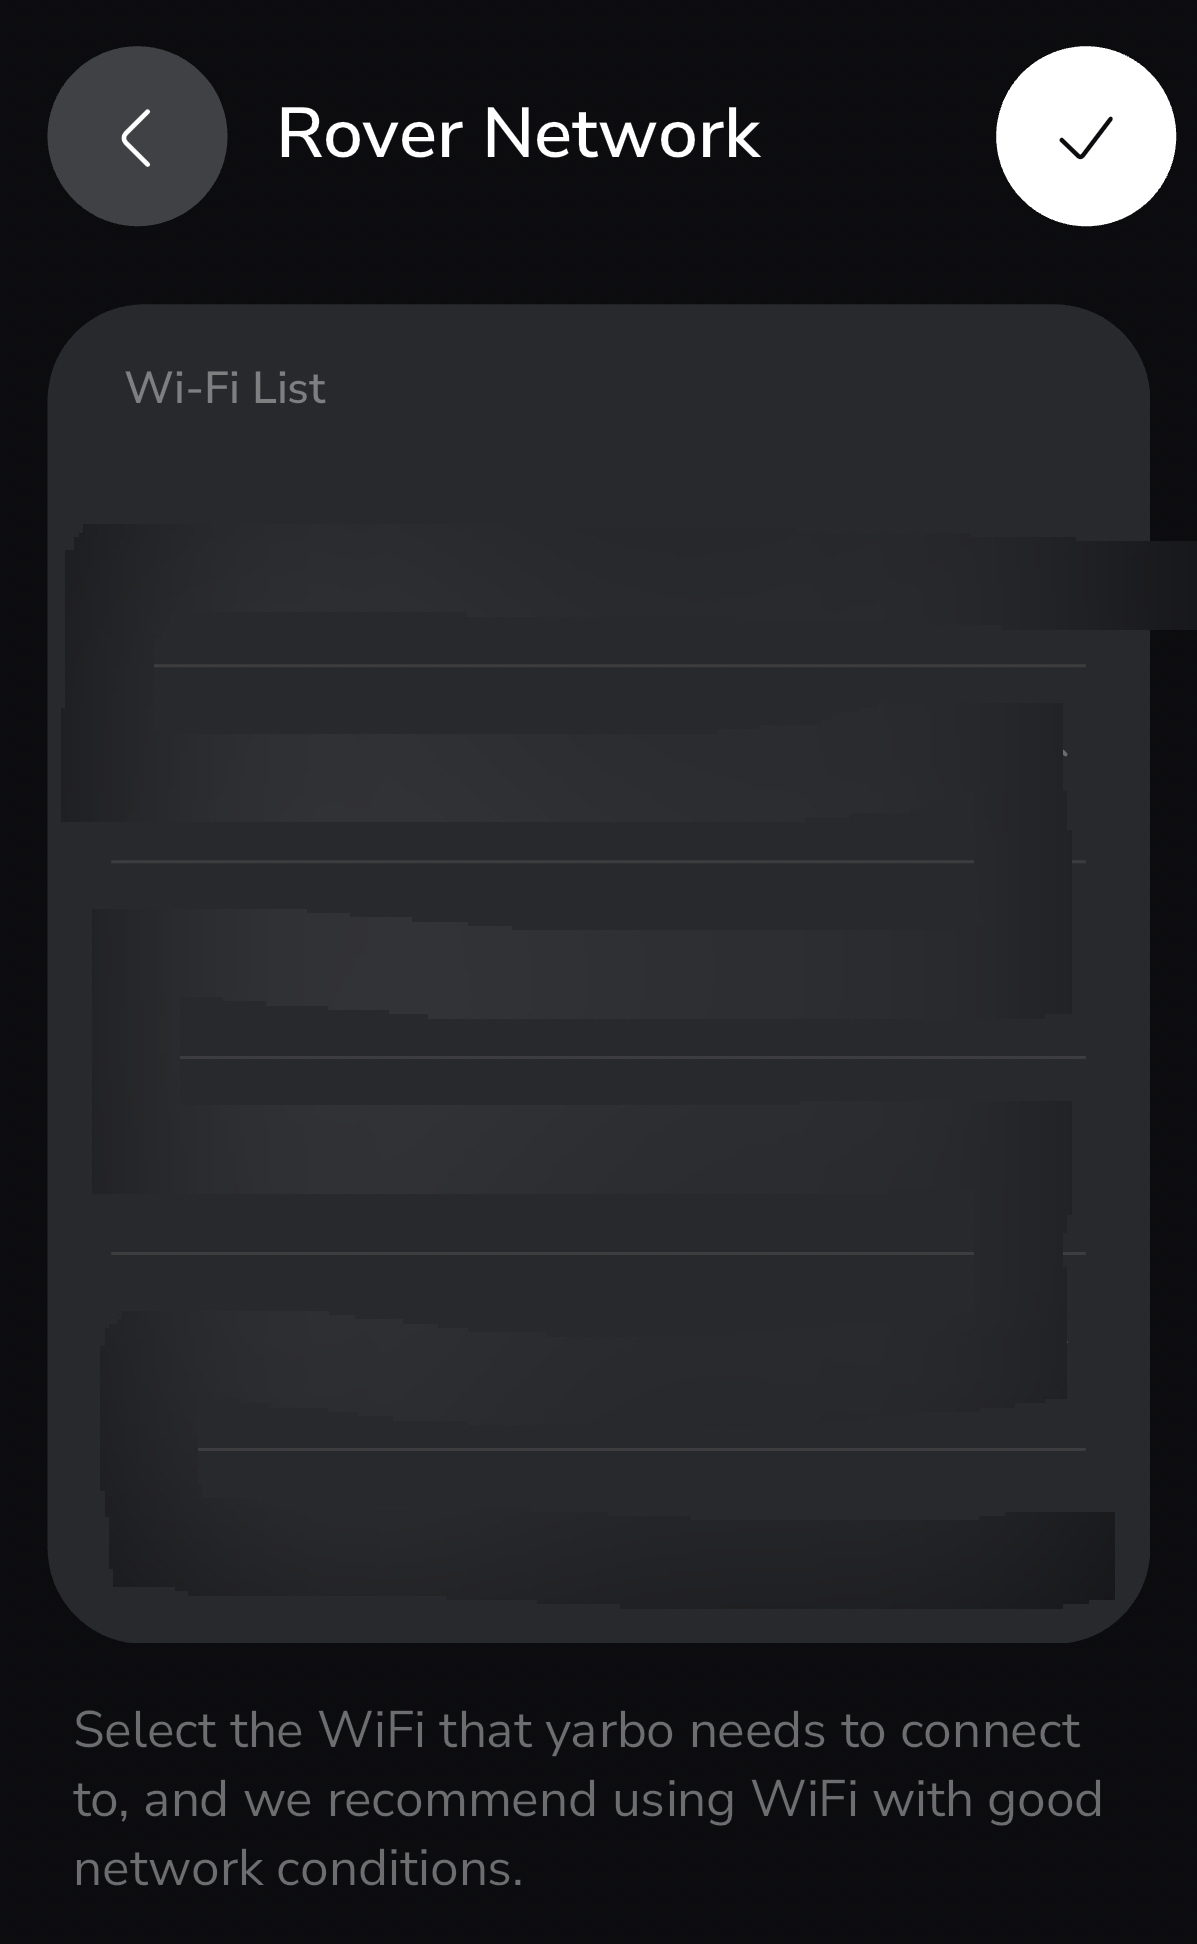
- From the main screen, tap the gear icon (Settings) → Diagnose Tools → connect Core to your home Wi-Fi.
 |
 |
 |
- This starts the firmware update process. Close and fully quit the app while leaving the Core powered on and connected.
- During update, the Core will flash red, green, and blue.
- Once you hear “Ready to Work”, the update is complete.
¶ Data Center (DC) Setup
¶ Situation 1: Using the Old DC Without Changing the Installation Location
If you are keeping your current Data Center (DC) and its physical location remains unchanged.
- For a New / Replacement Yarbo Core:
- Download Map: First, download your map from the cloud to your new Core.
- Pair DC: In the Yarbo App, use the Replace Data Center feature to pair the new Core with your current DC.
- For the Old Yarbo Core:
- No action is required.
Important: Do not unlink your old Core until the new Core has successfully restored the map from the cloud. Unlinking too early may cause map loss.
¶ Situation 2: Replacing with a New DC at the Original DC Location
Use this method if you received a replacement Data Center but are installing it in the exact same spot as the old one.
- For a New / Replacement Yarbo Core:
- Download Map: First, download your map from the cloud to your new Core.
- Pair DC: In the Yarbo App, use the Replace Data Center feature to pair the new Core with your new DC.
- For the Old Yarbo Core:
- Pair DC: You only need to use the Replace Data Center feature in the app to pair with the new DC.
¶ Situation 3: Using a New DC in a New Location
If you are setting up a brand-new Data Center in a completely different spot.
- For Both New and Old Yarbo Cores:
- ⚠️ Not Recommended: We advise against performing this operation on your own to prevent map data issues. If it is absolutely necessary, please contact our support team at support@yarbo.com for professional assistance.
¶ Situation 4: Moving the Current DC to a New Location
If you are keeping your existing Data Center but changing its physical location.
- For Both New and Old Yarbo Cores:
- Temporary Install & Survey
- Mount your DC temporarily in your desired location.
- In the app: Settings → Diagnose Tools → Yarbo Diagnosis → under RTK, click Details.
- Temporary Install & Survey
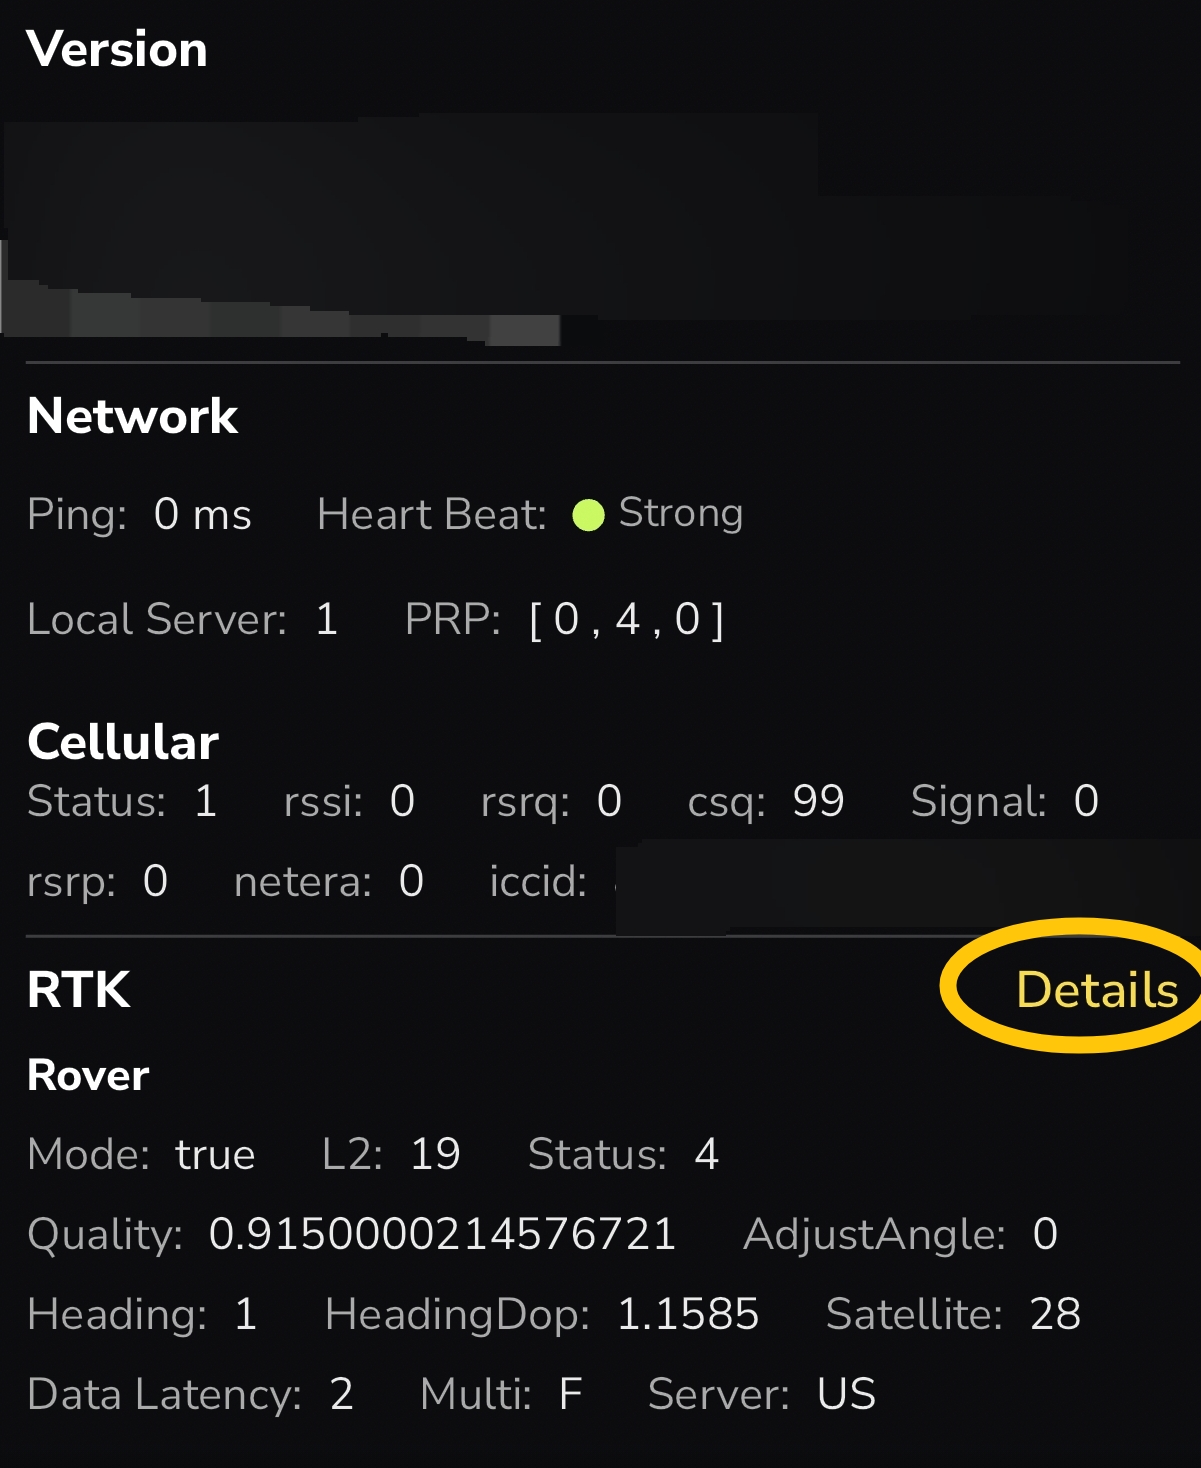
- This starts survey mode. Ensure GPS constellations (GPS, BDS, GLO, GAL) have CNR ≥ 36 (≥ 40 is preferred).
- The more constellations above 40, the stronger the signal.
2. Relocate Data Center: Physically install the Data Center in its new location.
3. Reinstall: Perform the Reinstall Data Center process in the app.
4. Restore Map: Once the reinstallation is complete, restore your cloud map from Previous Map.
5. Realign the Map: Drive Yarbo on the docking station to charge. Since the DC moved, a map drift is expected. Use the Correct Map Drift feature to realign the map to the new setup.
Note: Reinstalling will erase your map configuration data. After restoring your map, you'll need to set up your Area Settings, Work Plans, Schedules, and other map-related settings again.
¶ Docking Station Alignment
- Place the Docking Station in its permanent location.
- Place Yarbo Core on the dock, aligning each track between the yellow guide lines.
- The rear metal bumper should align with the rear yellow mark.
- In the app, manually start charging.
- Indicator should switch from yellow to green, confirming correct alignment.
¶ Note:
- Replacements, exit out at this step if you intend to recover saved maps. You can leave the rover on the Docking Station during this process. Make sure that the HaLow and GPS signals are excellent before saving the position of the Docking Station.
CAUTION: Verify Alignment Before Installing New Docking Station
To ensure seamless map synchronization, do not install a new Docking Station in the app until the old dock has been confirmed to align perfectly with the existing map(correct map drift if not aligned).
¶ Mapping & Work Plan Setup
¶ For New Installs
- From the main screen in the app, tap Create Map to start Data Center and Docking Station install process.
- Add your first area by driving Yarbo to the desired location.
- Create a pathway back to the Docking Station (Docking Station ↔ Work Area order doesn’t matter).
- After areas and pathways are connected, create a work plan and run your first auto plan.
¶ For Replacements (Cloud Map Recovery)
- Ensure the replacement Core is docked, centered, and charging.
- In the app: Settings → Previous Maps → tap the cloud icon → select the old Core’s serial number → Restore.
- The saved maps will download to the new Core.
- Recalibrate: Settings → Diagnose Tools → Yarbo Diagnosis.
- Confirm L2 satellites ≥ 10, Heading DOP < 1.4, Quality > 0.5.
- On the main screen: Enter My Yard → tap the 3 dots More Settings Icon → Correct Map Drift. (If rover position appears to be off on the app)
- Reset all preferences: area settings, work preferences, geofence, etc.
- Recreate work plans and schedules.
Notes:
- Docking station placement is critical: poor GPS can cause work interruptions.
- Firmware updates may take several hours—do not interrupt the process.
- Cloud Map Recovery only works when logged into the owner’s Yarbo account (shared users cannot perform recovery).